Example Asbestos Removal Projects in Hayward

Every project below starts with a sample or a survey, and each one shows the building, the lab result, what happens next, the time it takes and an approximate cost. About a quarter of Hayward homes date from the 1950s, and Castro Valley and Alameda have housing of similar age, so the examples run from a 1920s house to a 1960s apartment building.

We made these examples up to show how jobs run; they are not past work, clients or addresses. The house ages, steps and prices in them reflect the East Bay today, so you can plan before asking for a quote.

Plaster wall opened for a wider bedroom window

Example project
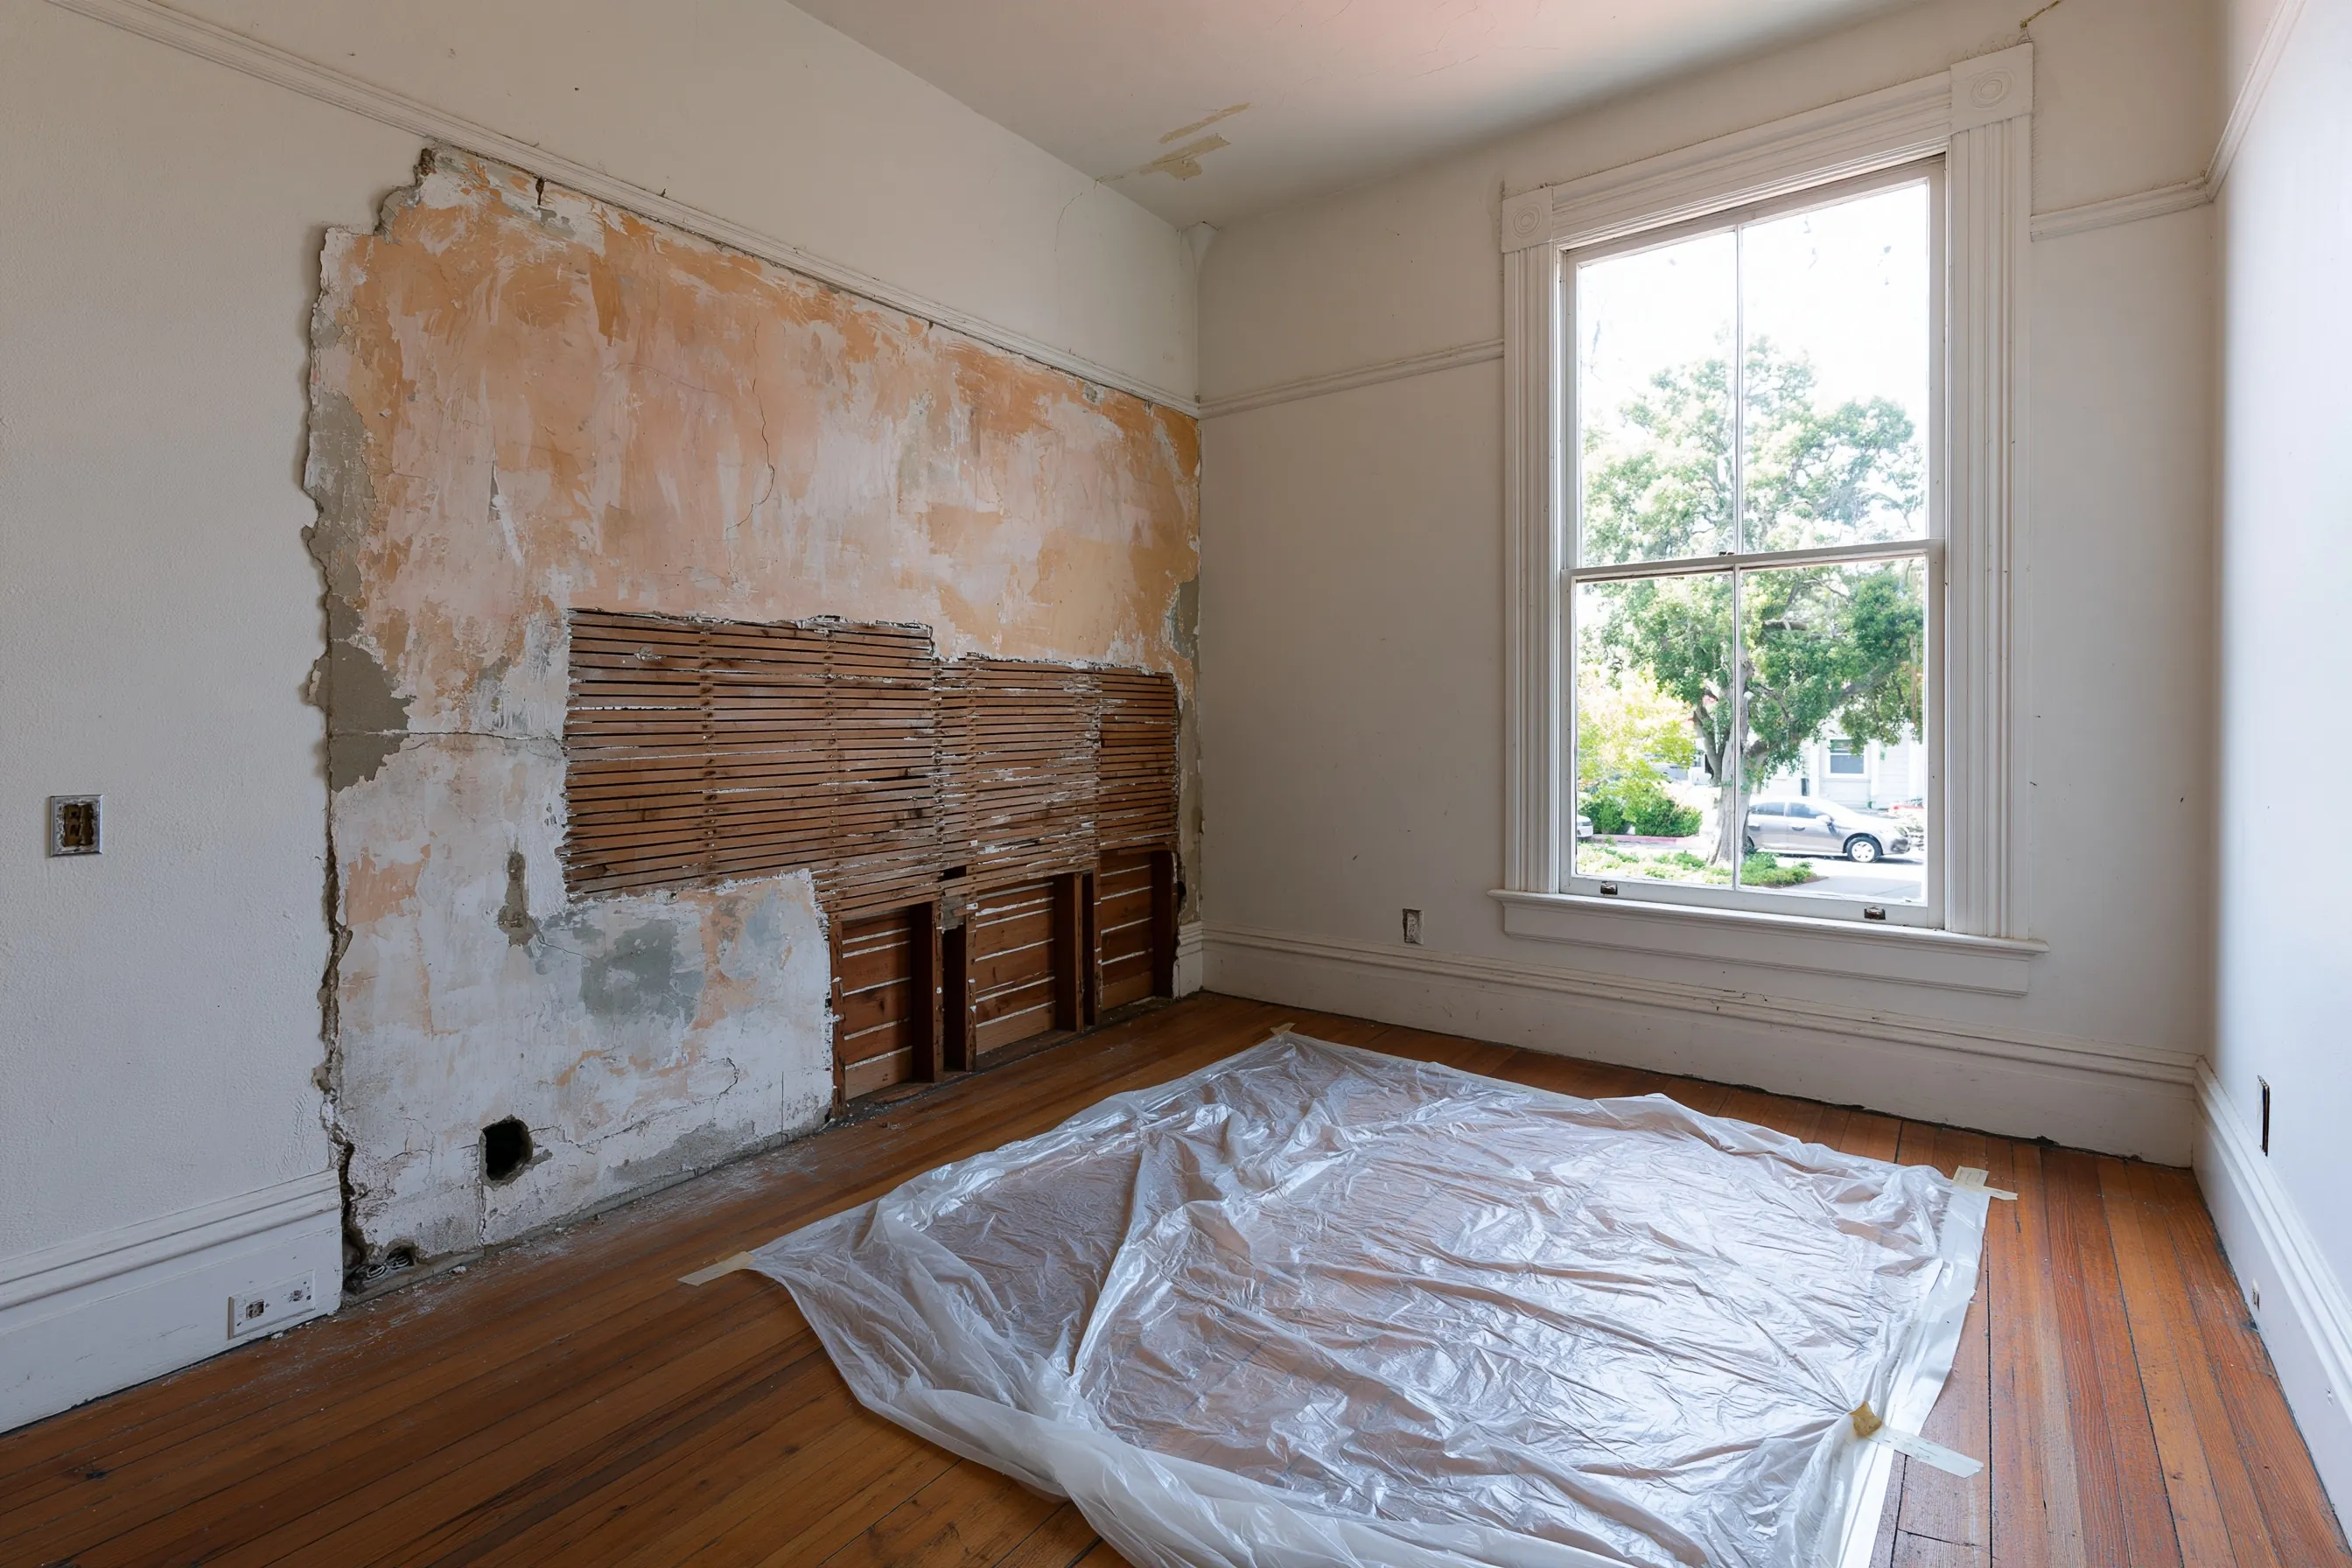
Bedroom with a tall double-hung window, plaster cut away from one wall to show the wood lath, and plastic sheeting over the plank floor
Home
1920s house in Hayward, with plaster walls and plank floors
Original request
A wider window and a closet in the front bedroom
Testing
Separate samples of the gray base coat, the white finish coat and the ceiling
Found
Asbestos in the base coat; the finish coat and the wood lath are clear
Opening
One wall of about 90 sq ft, under the 100 sq ft that needs a J#
Work
Plaster and lath taken off wet in sections inside plastic, with a filtered air unit
Timeline
Two days of removal before the carpenter
Estimated cost
$3,100

Scope of work

Samples of each plaster layer, plastic over the floor and the doorway, a filtered air unit, the plaster and lath on the window wall taken off wet in sections, sealed bags, a HEPA vacuum and wet wipe, and disposal. The window, framing, new drywall and paint are extra.

Project overview

In this example, the owners of a 1920s house in Hayward want a wider window and a closet in the front bedroom, which means opening one plaster wall. About 2,000 Hayward homes were built before 1940, and their walls are plaster on wood lath, so each layer goes to a lab before the carpenter makes a cut.

The gray base coat tests positive, while the white finish coat and the lath are clear, so the whole wall comes off as asbestos waste. At about 90 sq ft it stays under the amount that needs a J#, and it is taken off wet, section by section, inside plastic.

The goal

The goal is a bare opening for the new window, with the asbestos plaster gone and the rest of the house clean.

Process

  1. First visit Samples of the base coat, the finish coat and the ceiling go to a lab, and the window and closet layout is marked.
  2. Before work Furniture out, plastic over the floor and the doorway, filtered air unit set up.
  3. Removal Plaster and lath on the window wall taken off wet in sections and bagged.
  4. Then The room is cleaned, the plastic comes down and the carpenter starts on the new window.

Planning right

  • Old plaster can hold asbestos in one coat and not in another, so each layer gets its own sample.
  • Do not cut or drill a plaster wall before the result is back.
  • Order the window early. The opening stays covered until the carpenter arrives.
  • Keep the lab report with the permit papers for the window.
Get a free quoteMore about remodel and demolition abatement

Hall and bedroom ceilings smoothed after a buyer request

Example project

Home
1960s single-story house in Hayward, under contract to a buyer
Original request
Smooth ceilings in the hall and three bedrooms before closing
Testing
One sample from each ceiling, all with asbestos in the texture
Area
About 640 sq ft of ceiling in four rooms
Work
One room at a time, texture soaked and scraped off inside plastic with a filtered air unit
Timeline
J# wait of 10 working days, then about four days of work
Estimated cost
$6,100

Scope of work

A lab test of each ceiling, each room sealed with plastic and a filtered air unit, the texture wetted and scraped off, sealed bags, a HEPA vacuum and wet wipe, and disposal. Add the J# fee from the price table. A skim coat and paint are extra.

Project overview

In this example, the sellers of a 1960s house in Hayward accept an offer, and the buyer's inspection report flags the sprayed ceilings in the hall and the three bedrooms. The buyer asks for them to be smooth before closing. A sample from each room comes back positive.

The four ceilings add up to about 640 sq ft, over the 100 sq ft that needs a J#, so a notice goes in and the work starts 10 working days later. The crew seals and strips one room at a time, so the rest of the house stays usable until its turn.

The goal

The goal is bare, smooth-ready ceilings and a paper trail the buyer can read before the closing date.

Process

  1. Week one Samples from each ceiling go to a lab, and the notice to the air district is filed.
  2. Ten working days later Furniture out, plastic up, filtered air unit running.
  3. Four days One room at a time: texture soaked and scraped off, bagged, and the room cleaned.
  4. Before closing The lab report and the waste records go to the buyer's agent.

Planning right

  • File the notice as soon as the results are back. The 10 working days can decide the closing date.
  • Starting with less than 10 working days notice costs the extra fee in the price table.
  • Ask for a copy of the lab report. A buyer who can read it knows what was found and what was done.
  • Book the skim coat and paint while the ceilings are still bare.

Get a free quoteMore about popcorn ceiling removal

Sunroom floor tile taken up before the room becomes a bedroom

Example project

Home
1950s single-story house in Hayward, with a rear porch closed in during the 1970s
Original request
Turn the old sunroom into a bedroom with a new floating floor
Testing
The 9-inch tile and the black mastic under it sampled separately
Found
Asbestos in both the tile and the mastic
Area
About 230 sq ft, with the tile glued straight to the concrete slab
Work
Tile lifted whole, then the mastic scraped off the slab wet, inside plastic
Timeline
J# wait of 10 working days, then two days of removal
Estimated cost
$4,800

Scope of work

A lab test of the tile and the mastic, the room sealed with plastic, the tile lifted whole while kept wet, the mastic scraped off the slab wet, sealed bags, a HEPA vacuum and wet wipe, and disposal. Add the J# fee from the price table. The new floor is extra.

Project overview

In this example, the owners of a 1950s house in Hayward want the sunroom at the back, closed in during the 1970s, to become a bedroom. The floor is 9-inch tile glued straight to the slab, and a floating floor needs it bare. A lab test finds asbestos in the tile and in the black mastic under it.

The tile comes up whole while it is kept wet, and the mastic is scraped off by hand, never ground or sanded. At about 230 sq ft it passes 100 sq ft, so a J# is filed and the work starts 10 working days later. The room is clean for the new floor on day three.

The goal

The goal is a bare, clean slab ready for the new bedroom floor.

Process

  1. Sampling A piece of tile and a scrape of mastic go to a lab.
  2. Day one, morning Plastic over the doors, the windows sealed and the tile wetted.
  3. Day one, afternoon Tile lifted whole and bagged as it comes up.
  4. Day two Mastic scraped off the slab, the room vacuumed and wiped, and the plastic comes down.

Planning right

  • Tile and mastic are separate layers, and each gets its own sample.
  • A floating floor over a slab needs the mastic gone, not just covered, to lie flat.
  • An enclosed porch can have a different floor from the rest of the house. Test it on its own.
  • Tell your flooring installer the lab result before the quote.

Get a free quoteMore about floor tile and mastic removal

Two stucco openings cut for a heat pump line set

Example project

Home
1960s single-story stucco house in Hayward
Original request
A heat pump to replace the gas furnace, with the outdoor unit on the side wall
Testing
Samples of the brown coat and the finish coat of the stucco
Found
Asbestos in the brown coat; the finish coat is clear
Openings
Two, one for the refrigerant line set and one for the electrical conduit, a few square feet in all
Work
Stucco cut out wet inside a taped enclosure on the wall
Timeline
One day, ahead of the installer
Estimated cost
$1,900

Scope of work

Samples of each stucco coat, a taped enclosure around the work area on the wall and the ground below, the stucco cut out wet at the two openings, sealed bags, a HEPA vacuum and disposal. The heat pump, patching and paint are extra.

Project overview

In this example, the owners of a one-story 1960s stucco house in Hayward are replacing a gas furnace with a heat pump. The outdoor unit goes on the side wall, so a refrigerant line and an electrical conduit have to pass through the stucco. The lab finds asbestos in the thick brown coat under the finish coat.

Because the stucco is cut and not left whole, the two openings are taken out wet inside a taped enclosure. They total only a few square feet, far under 100 sq ft, so no J# is needed, and the installer sets the lines the next day.

The goal

The goal is two clean openings for the heat pump lines, with no asbestos dust left on the wall or the ground.

Process

  1. First visit Samples of both stucco coats go to a lab, and the installer marks the two openings.
  2. Before work Plastic and tape go up on the wall and over the ground below.
  3. Removal day Both openings cut out wet and bagged, then the wall is vacuumed.
  4. Next day The installer sets the line set and the conduit, and the stucco patch follows.

Planning right

  • Intact stucco is left alone. A cut through it is the reason to test first.
  • Choose the wall for the outdoor unit with the installer before the openings are cut.
  • Keep the lab report for the stucco patcher, so they know what is in the old coat.
  • Drilling or coring the stucco yourself makes dust. Leave it to the enclosure.

Get a free quoteMore about stucco and cement siding removal

Attic ducts removed for ductless heat pumps

Example project

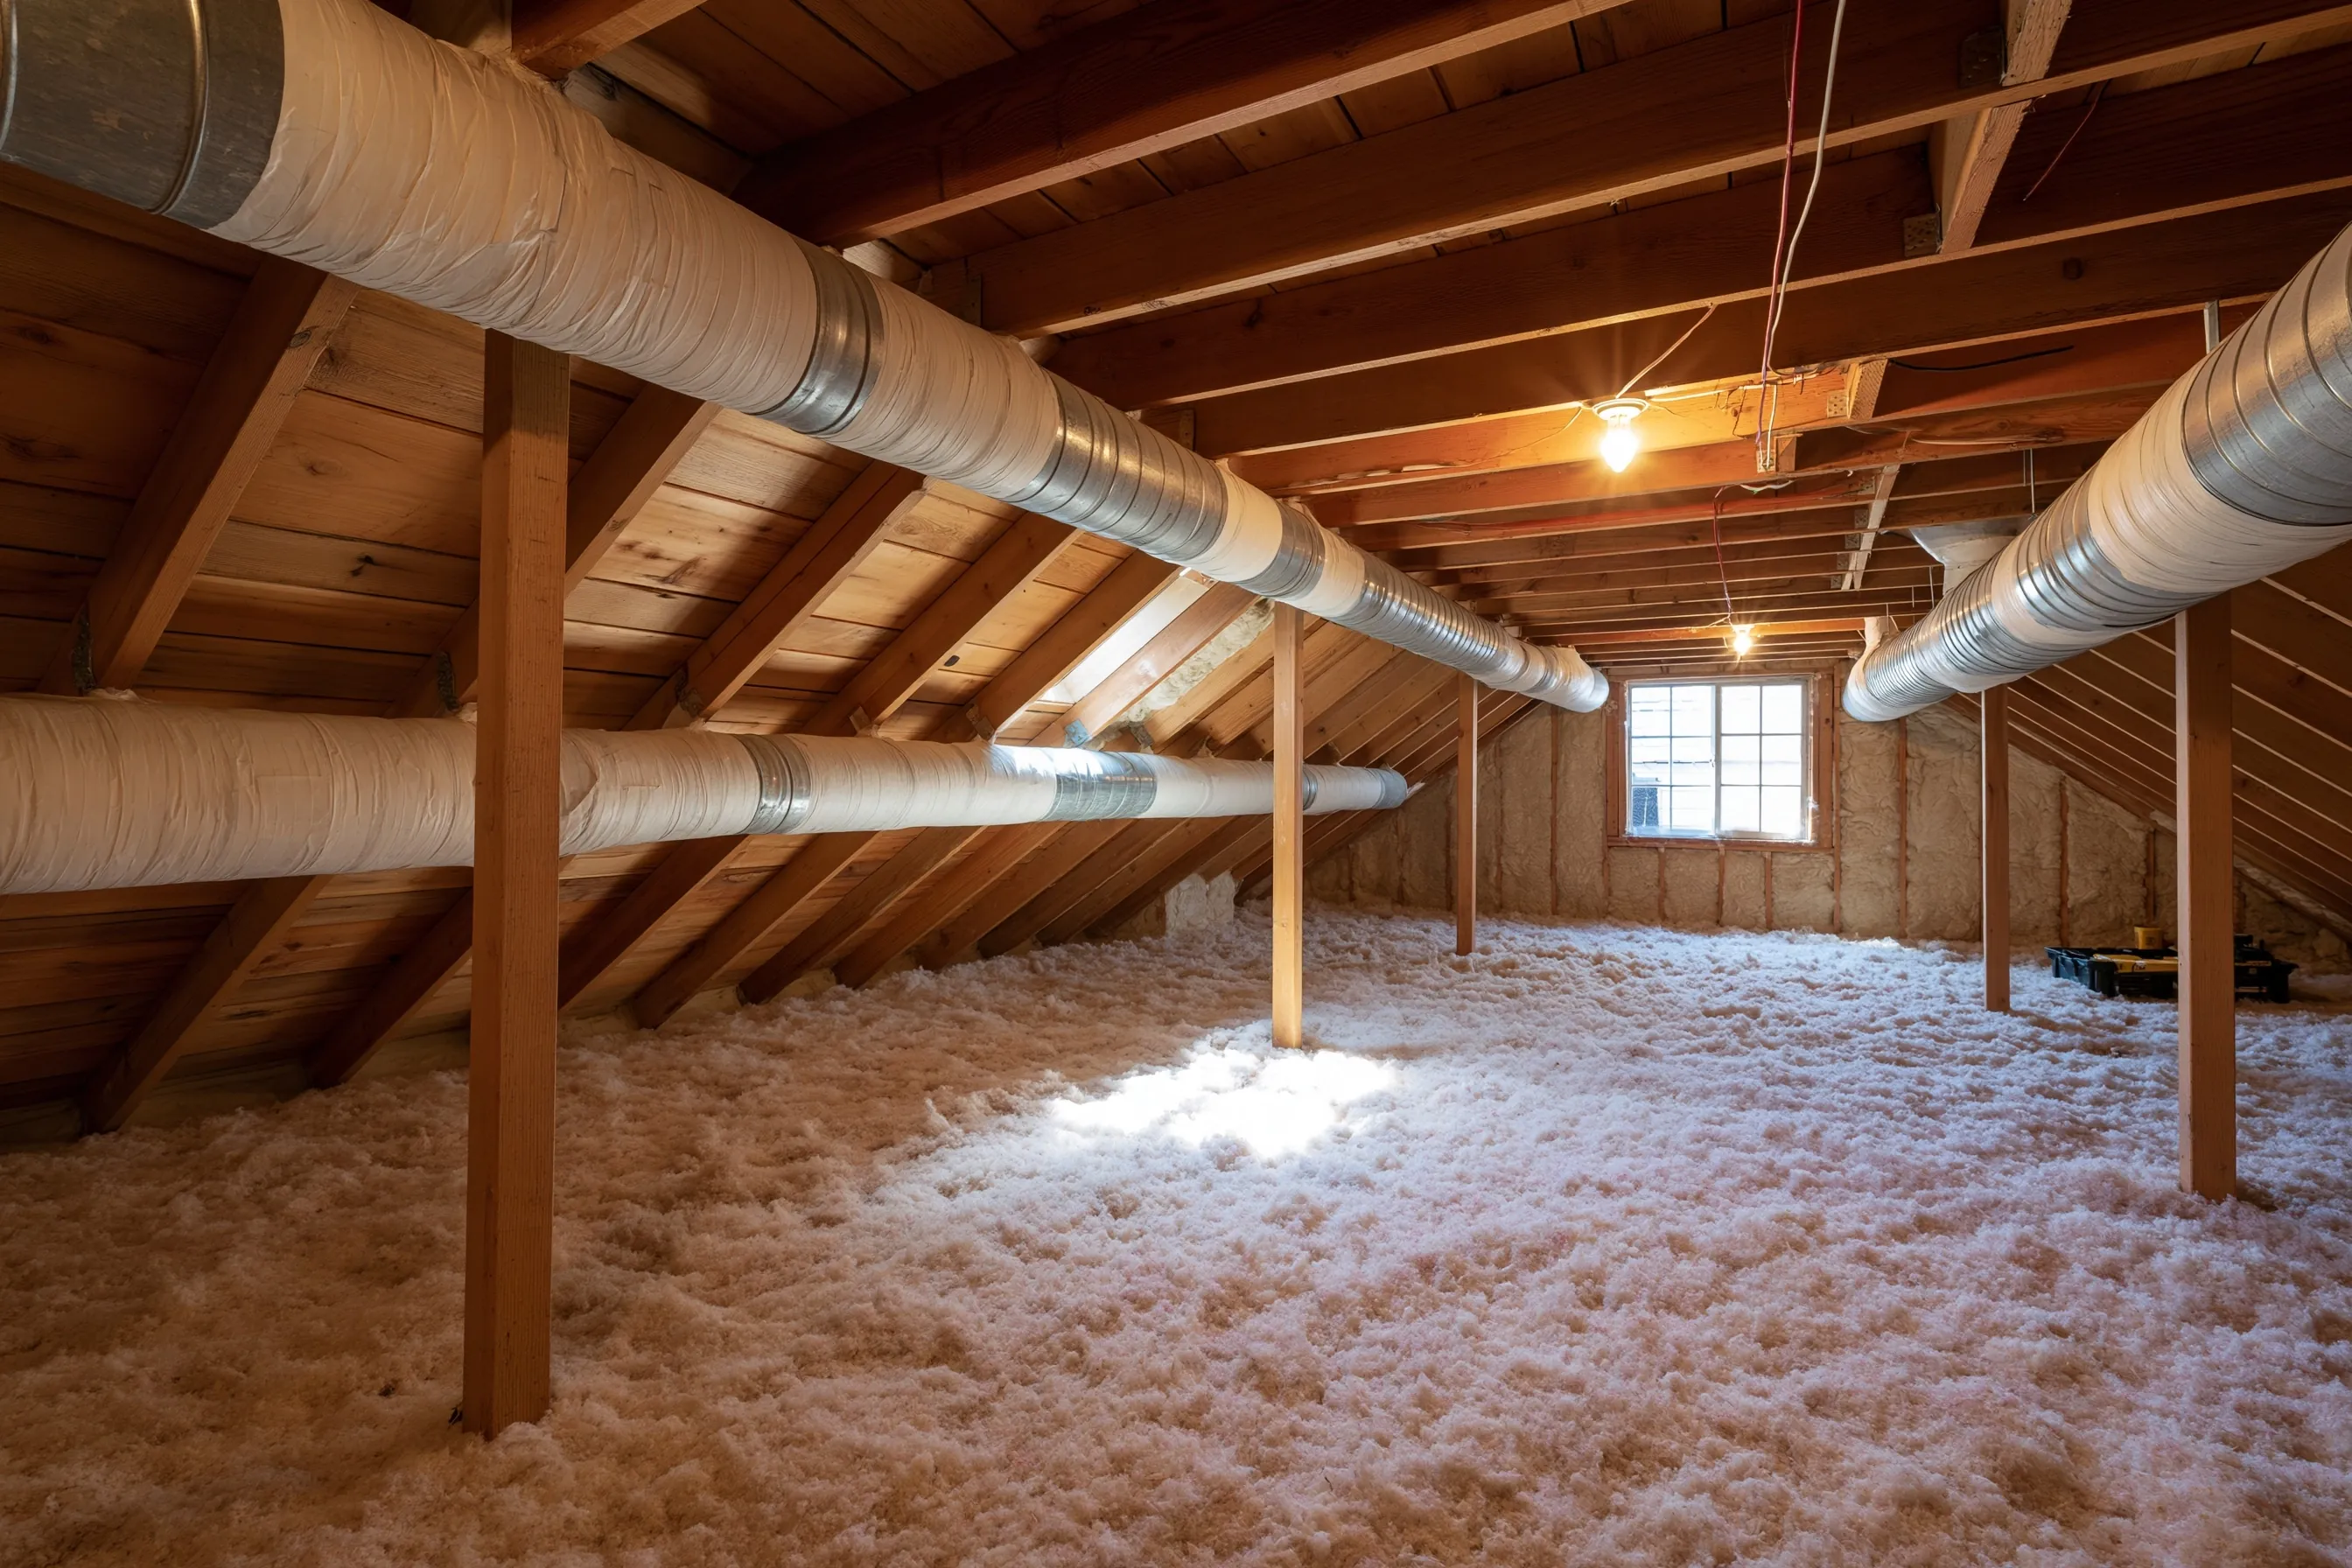
Attic with round metal ducts wrapped in white insulation and metal bands, board roof sheathing, a gable window and loose insulation on the floor
Home
1950s single-story house in Castro Valley, with its ducts in the attic
Original request
Ductless heat pumps in place of the furnace, with the old ducts gone for good
Testing
Samples of the white duct wrap, the joint tape and the loose insulation on the attic floor
Found
Asbestos in the wrap and the tape; the loose insulation is clear
Ducts
About 120 linear ft of round duct on several runs
Work
Wrap and tape kept wet, each duct section sealed in plastic and lowered out of the attic
Timeline
J# wait of 10 working days, then three days of work
Estimated cost
$5,300

Scope of work

Samples of the wrap, the tape and the loose insulation, a sealed work area in the attic with a filtered air unit, the wrap and tape kept wet, each duct section wrapped and lowered out, sealed bags, a HEPA vacuum of the attic and disposal. Add the J# fee from the price table. The heat pumps are priced by the installer.

Project overview

In this example, the owners of a 1950s house in Castro Valley are replacing the furnace with ductless heat pumps. They want the old ducts out of the attic for good. The round metal ducts are wrapped in white insulation held with metal bands, and loose insulation lies over the floor.

Samples of the wrap, the joint tape and the loose insulation go to a lab. The wrap and the tape are positive and the loose insulation is clear. With about 120 linear ft of duct the job passes 100 linear ft, so a J# is filed and the crew starts 10 working days later, taking each run out wet inside the sealed attic.

The goal

The goal is an attic with no wrapped duct left in it, ready for the new heat pump lines and any new insulation.

Process

  1. First visit Samples of the wrap, the tape and the loose insulation go to a lab, and the attic hatch is measured.
  2. Before work The J# is filed, and the installer sets the day the furnace comes out.
  3. Days one and two Attic sealed, wrap and tape wetted, each duct run wrapped in plastic and lowered out.
  4. Day three Attic vacuumed and wiped, waste bagged and hauled, the plastic comes down.

Planning right

  • Loose attic insulation is its own sample, so a clear result there is worth knowing.
  • Keep the attic hatch shut until the work starts, since torn wrap sheds fibers.
  • Ask the installer to cap the old ducts only after the removal is done.
  • The ducts count in linear feet toward the 100 foot line for a J#.

Get a free quoteMore about duct and attic insulation removal

Survey of an apartment building before a ground-floor retrofit

Example project

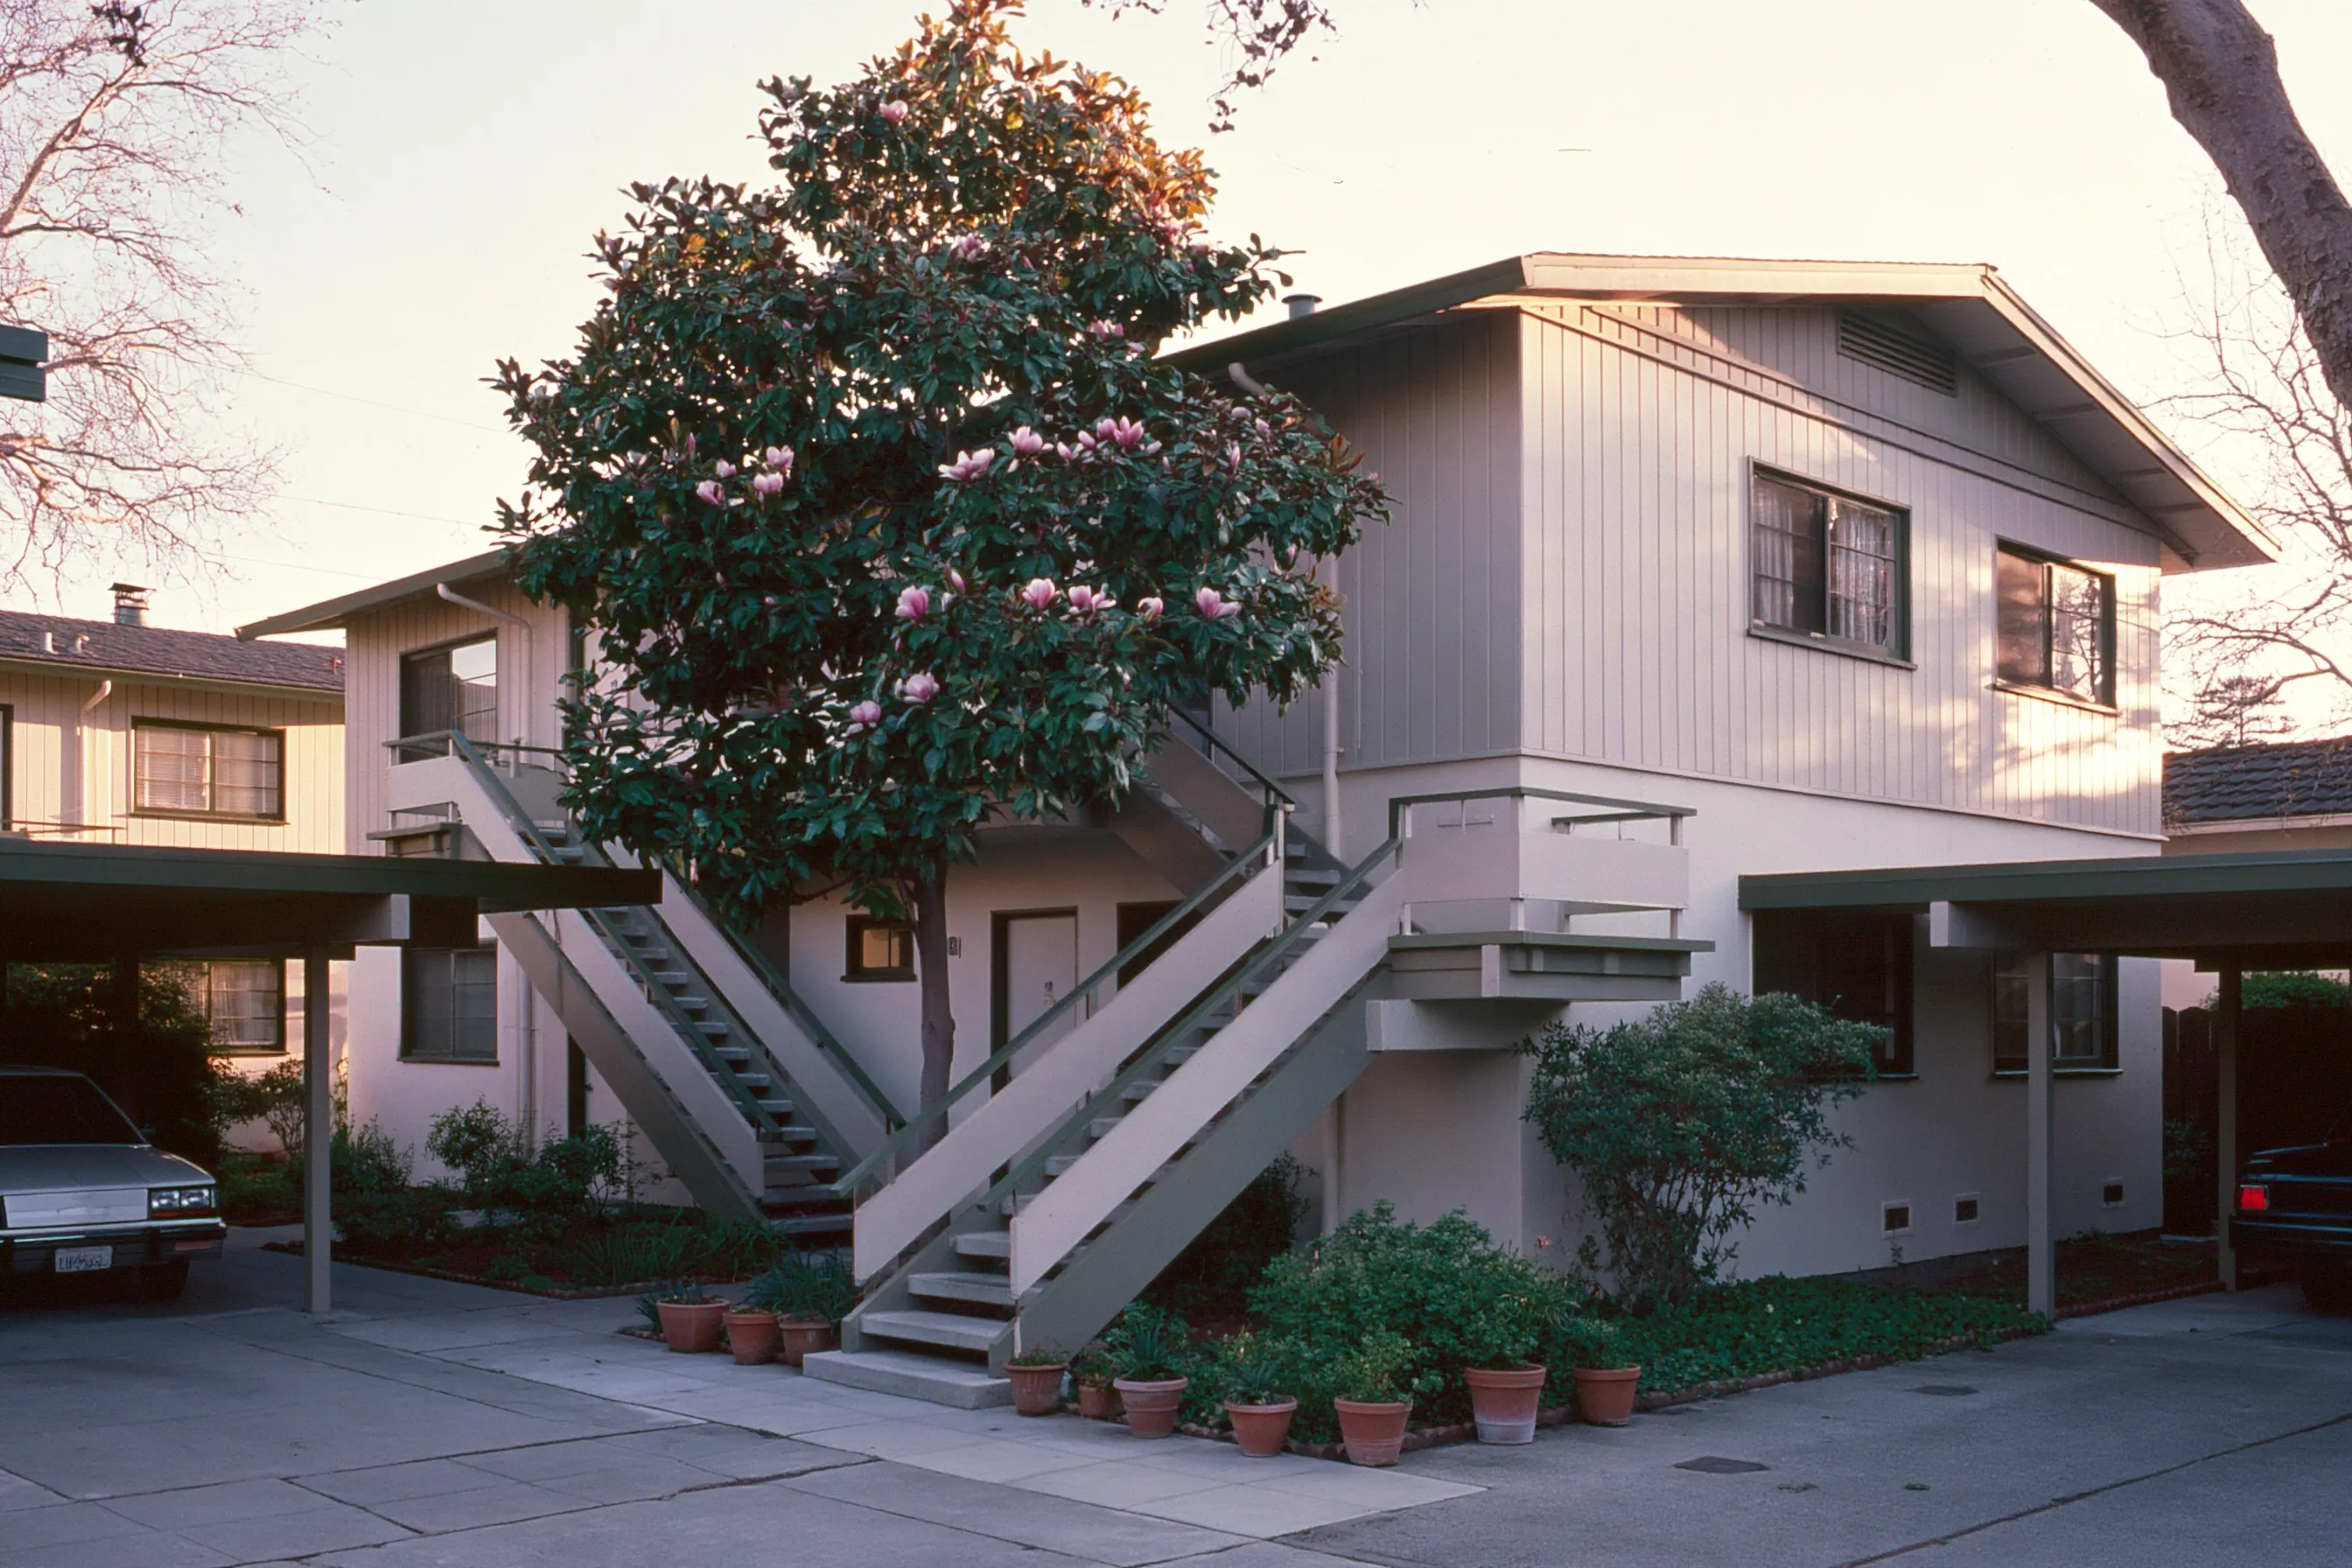
Two-story apartment building with vertical wood siding, outside stairs, carports on both sides and a flowering magnolia tree in front
Building
1960s two-story apartment building in Alameda, ten units, with outside stairs and carports
Original request
New steel frames and shear walls on the ground floor
Testing
Certified survey of the whole building: ceilings, walls, floors, stair landings and the outside walls
Found
Asbestos in the ceiling texture and the wall joint compound of the ground-floor units; the stucco and the siding are clear
Timeline
One survey day, the written report a week later
Estimated survey cost
$4,300

Scope of work

A certified consultant surveys the whole building, sampling the ceilings, walls, floors, stair landings and outside walls, with lab fees and a written report the owner can hand to every bidder. Removal is priced separately from the report.

Project overview

In this example, the owner of a 1960s two-story apartment building in Alameda plans to strengthen the ground floor with new steel frames and shear walls. A building of five or more units cannot use the short sample list that houses use, so a certified consultant surveys all of it before any wall is opened.

The survey finds asbestos in the ceiling texture and in the wall joint compound of the ground-floor units, where the new frames will go. The stucco and the wood siding are clear. The owner hands the report to the contractors, and the removal is planned in phases around the tenants.

The goal

The goal is one report that tells the owner and every contractor which materials in the building need asbestos removal and which do not.

Process

  1. Before the survey The owner sends the retrofit plans and a list of the units that will be open to the consultant.
  2. Survey day Samples from every material the work will touch, taken in the common areas and in the ground-floor units.
  3. One week later Lab results and a written report listing what is positive and where.
  4. Then The report goes to every bidder, and removal is priced and phased around the tenants.

Planning right

  • Tenants should know the survey date, and the units they will need to open.
  • A report for the whole building is also the paper the retrofit permit file will ask about.
  • Ask for quantities by unit, so removal can be scheduled unit by unit.
  • The survey comes first. Everything positive is priced after the report.

Get a free quoteMore about apartment building abatement

Ceilings, floors and duct wrap removed before a second story

Example project

Home
1950s single-story house in Hayward, about 1,400 sq ft
Original request
A second floor, with the roof coming off and most walls opened
Testing
Samples from every ceiling, wall finish, floor and the ducts
Found
Asbestos in all the ceiling texture, the kitchen and hall floor tile with its mastic, and the wrap on the main duct
Clear
Wall texture and joint compound
Work
About 1,350 sq ft of ceiling, 260 sq ft of floor and the duct wrap, room by room inside plastic
Timeline
Samples and J#, then about two weeks of removal before the roof comes off
Estimated cost
$22,000

Scope of work

Samples of every material the plans will touch, a J#, each room sealed with plastic and filtered air, the ceiling texture scraped off wet, the floor tile and mastic taken up, the wrap cut off the main duct, sealed bags and shipment records, and a clearance air test before the builder starts. Add the J# fee from the price table. Demolition and building are priced by the builder.

Project overview

In this example, the owners of a 1950s single-story house in Hayward are adding a second floor. The roof comes off and most walls open, so everything the plans touch is sampled first. The lab finds asbestos in every ceiling, in the kitchen and hall floor, and in the wrap on the main duct. The wall texture and compound are clear.

All of it comes out before the builder starts. The ceilings and floors add up to well over 100 sq ft, so a J# is filed and the crew starts 10 working days later. A clearance air test at the end is what the builder is handed.

The goal

The goal is a house with every asbestos material out of it, so the roof and walls can come off without further sampling.

Process

  1. Weeks one and two Samples from every room and the ducts, lab results, and the J# filed.
  2. Before work The builder agrees the order: ceilings first, then floors, then the duct.
  3. About two weeks Room by room: sealed, stripped wet, bagged, cleaned.
  4. Last day Clearance air test, and the lab results go to the builder.

Planning right

  • Test the whole house when the plans are drawn, not when the roof is already off.
  • Ask the builder for the demolition order, so removal is finished room by room ahead of it.
  • The clear wall texture means the walls can come down the usual way.
  • The clearance result is the paper the builder keeps for the permit file.

Get a free quoteMore about remodel and demolition abatement

Request a free asbestos removal quote

Tell us what the work involves, whether it is a house, an apartment building or a commercial space, roughly when it was built and whether anything has been tested. We'll get back to you soon with an estimate or any questions we have. Estimates are free and there's no obligation.

Call (510) 876-4991

Call (510) 876-4991